ElForm 里的 ElTree 校验流程
John Doe1
2
3
| <el-form-item prop="permissionIds"> <el-tree
ref="treeRef" show-checkbox
node-key="id" :default-expand-all="true" :default-checked-keys="detail.permissionIds" :data="permissionList" :props="treeProps" @check="onPermissionCheck" ></el-tree></el-form-item>
|
点击 tree 组件。触发了这些事件。 从 ElCheckBox 开始看起
CheckBox
img
v-model 触发 input 事件
1
2
3
4
5
6
7
8
| computed: {
model: {
set(val) {
if (this.isGroup) {
this.$emit('input', val); this.selfModel = val; }
}
}, }
|
handleChange 触发 change 事件
1
2
3
4
5
| handleChange(ev) {
if (this.isGroup) {
this.dispatch('ElCheckboxGroup', 'change', [this._checkboxGroup.value]); }
}); }
|
checkbox 的 change 事件会触发tree-node 的 handleCheckChange 方法
1
2
3
4
| handleCheckChange(value, ev) {
this.node.setChecked(ev.target.checked, !this.tree.checkStrictly);
const store = this.tree.store; this.tree.$emit('check', this.node.data, {
checkedNodes: store.getCheckedNodes(), checkedKeys: store.getCheckedKeys(), halfCheckedNodes: store.getHalfCheckedNodes(), halfCheckedKeys: store.getHalfCheckedKeys(), }); }); },
|
可以看到 checkbox 触发 change 事件后, 上面就是可以找到的所有流程。
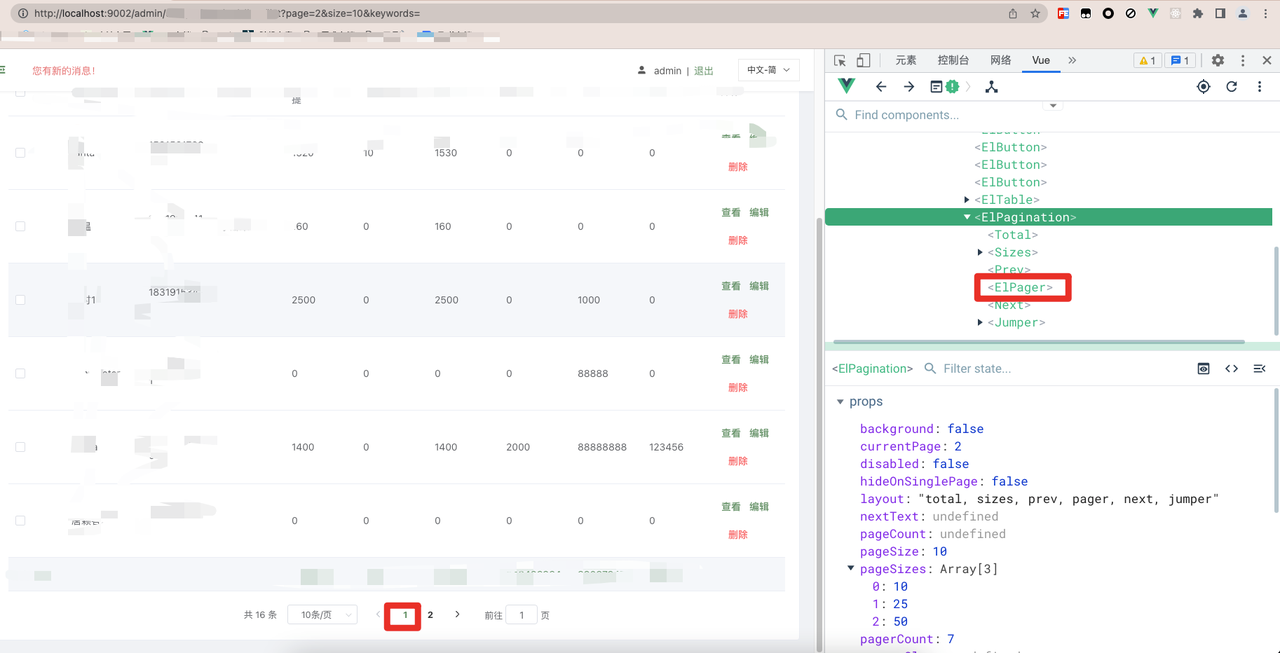
那 VueDevTool 的 TimeLine 里面的第5项(见图片1) validate By ElForm
是怎么触发的?
在 watch 里面
1
2
3
4
| watch: {
value(value) {
this.dispatch('ElFormItem', 'el.form.change', value); }
}
|
这里有个 dispatch。但不是 vue1.x 版本里面的 dispatch。 是 element
自己实现的。详细内容见 element-ui的dispatch和broadcast方法分析
上面说到触发了 elFormItem 的 el.form.change 。在
form-item 组件里面监听了这个事件
1
2
3
4
| addValidateEvents() {
const rules = this.getRules(); if (rules.length || this.required !== undefined) {
this.$on('el.form.blur', this.onFieldBlur); this.$on('el.form.change', this.onFieldChange); }
},
|
接着调用了
1
2
3
4
| onFieldChange() {
if (this.validateDisabled) {
this.validateDisabled = false; return; }
this.validate('change'); },
|
继续
1
2
3
| validate(trigger, callback = noop) {
|
filedValue
1
2
3
4
5
| fieldValue() {
const model = this.form.model;
let path = this.prop; if (path.indexOf(':') !== -1) {
path = path.replace(/:/, '.'); }
return getPropByPath(model, path, true).v; },
|
为什么会是空数组呢, 因为 nextTick .
上面有在 tree-node 组件 的 handleCheckChange 提到。
使用了nextTick 。也就是会在下一个 Task 里面才同步 ElTree
的值。 以及触发 tree 组件 的 $emit('check')
。所以读取到的值是上一个值。
解决
使用 validator 进行校验
1
2
3
4
5
6
7
8
| rules = {
permissionIds: [{
type: 'array', required: true, trigger: 'change', validator: this.checkTreeData, }],}
async checkTreeData(rule: string, value: string, callback: ICallback) {
const tree = this.$refs.treeRef as Tree;
if (!checkedPermissionIds.length) {
return callback(new Error(this.$t('validate.noPermission') as string)); }
return callback();}
|
总结
因为 elTree 里面使用了 nextTick 才将值同步到父组件。
如果父组件需要对 elTree 进行校验,需要先通过 ref 直接获取 tree
里面的值才能进行校验